PokéPath TD Wiki: Complete Game Mechanics and Data Guide (2025)
Author: PokéPath Team
Last Updated: December 27, 2025
This article is reprinted from pokepath.io. Original article: https://pokepath.io/strategy/wiki-mechanics-guide
Welcome to the PokéPath TD Wiki, a comprehensive and continuously updated database covering core mechanics, evolution data, status effects, and hidden systems.
Whether you're searching for exact evolution levels, trying to understand how damage-over-time effects work, or digging into undocumented mechanics discovered by the community, this guide is designed to be your single source of truth for PokéPath TD. All information below is verified against game files and community testing, updated for the 2026 version.
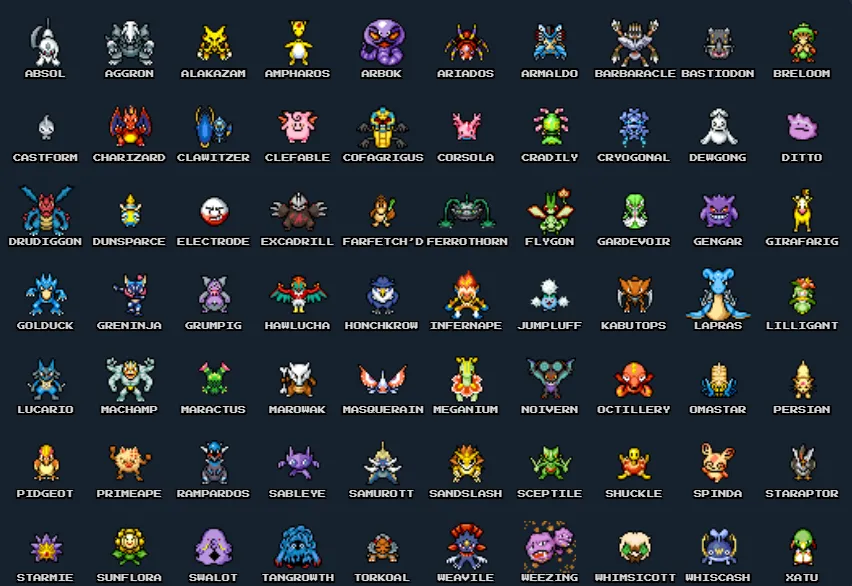
Evolution Chart and Requirements
Evolution in PokéPath TD differs significantly from the mainline Pokémon games. Most Pokémon evolve purely through leveling, even those that normally require stones, trading, or special conditions.
Below is a curated list of non-standard evolution levels, directly sourced from in-game data and confirmed by player testing.
Special Evolution Levels
- Machoke → Machamp at Lv. 42
- Haunter → Gengar at Lv. 50
- Kadabra → Alakazam at Lv. 50
- Graveler → Golem at Lv. 45
- Murkrow → Honchkrow at Lv. 40
- Sunkern → Sunflora at Lv. 20
- Cottonee → Whimsicott at Lv. 28
- Petilil → Lilligant at Lv. 28
- Riolu → Lucario at Lv. 20
- Tangela → Tangrowth at Lv. 36
- Clefairy → Clefable at Lv. 25
Note: If a Pokémon is not listed above, it generally follows its standard level-up evolution from the official Pokémon games (e.g. Charmander → Charmeleon at Lv. 16).

Status Effects and Combat Mechanics Explained
Status effects—referred to in-game as "Prejudices"—are critical for handling late-game bosses such as Registeel and Suicune. Mastery of these systems is often the difference between failure and success.
- Effect: Deals 0.1% of Max HP per tick
- Stacking: Infinite
- Why It Matters: Poison scales with enemy HP, making it essential against ultra-tanky bosses
- Best Users: Weezing, Arbok, Ariados
- Effect: Applies Nightmare stacks that deal increasing damage over time
- Source: Ghost-types (primarily Gengar)
- Key Insight: Nightmare damage scales with each hit and ignores armor
- Synergy: Curse stacks independently from Poison — both can be applied simultaneously for maximum DPS
- Slow: Reduces enemy movement speed (❌ Zapdos is immune to Slow)
- Stun (Paralysis): Completely stops enemy movement briefly (❌ Articuno is immune to Stun)
Strategic Implication: You must swap control units depending on the boss. Ampharos and Corsola are not interchangeable in every fight.
Some abilities mention "spreading the main target's prejudices".
Meaning: If the primary target is already affected by a status (Poison, Burn, Slow, etc.), that effect will be copied to nearby enemies within the splash radius.
This mechanic allows efficient wave control without reapplying effects individually.
Hidden Game Mechanics (Wiki-Exclusive)
The following mechanics are not explained in-game and were uncovered through extensive Discord testing and data inspection.
Ditto Transformation Logic
- Ditto copies the species, but retains its own level
- Example: A Lv. 100 Ditto copying a Lv. 1 Charizard becomes a Lv. 100 Charizard
Advanced Tip: You can change Ditto's transformation target directly from the Data menu, even mid-wave—no need to sell or redeploy.
Buff Stacking Rules
- Sunflora (Damage Aura): Does not stack with another Sunflora
- Farfetch'd (Crit Damage Aura): Does not stack with another Farfetch'd
- Cross-Stacking: ✔ One Sunflora + one Farfetch'd can stack together on the same unit
This interaction enables extreme DPS scaling when paired with Ditto.
Invisibility Detection
Only the following units provide True Sight:
- Honchkrow
- Xatu
- Grumpig
Additional Interaction: AOE splash damage can indirectly reveal invisible enemies if they are adjacent to visible units.

Map and Terrain Data
Correct placement is just as important as team composition. Terrain bonuses play a major role in optimization.
- Grass Tiles: Boost range or damage for Grass-types (Maractus, Sceptile)
- Water Tiles: Required for most Water-types (Lapras, Omastar). Some hovering units (e.g. Corsola) can also be placed here
- Mountain / High Ground: Grants major range bonuses to select units like Aggron and Flygon
- Field / Path Tiles: No bonuses, but allows placement of standard ground units
Wiki Update Policy
This PokéPath TD Wiki is a living document. As the developer Khydra introduces new Pokémon, balance changes, or mechanics, this page will be updated accordingly.
For optimal builds and meta analysis, see our PokéPath TD Tier List and Best Team Compositions pages.
Ready to master the mechanics? Play PokéPath TD now and apply what you've learned!